Geologic Cross Sections

This tutorial will focus on utilization of the iPad and it's remarkable ability for drawing.

Get Started

Tutorial Background

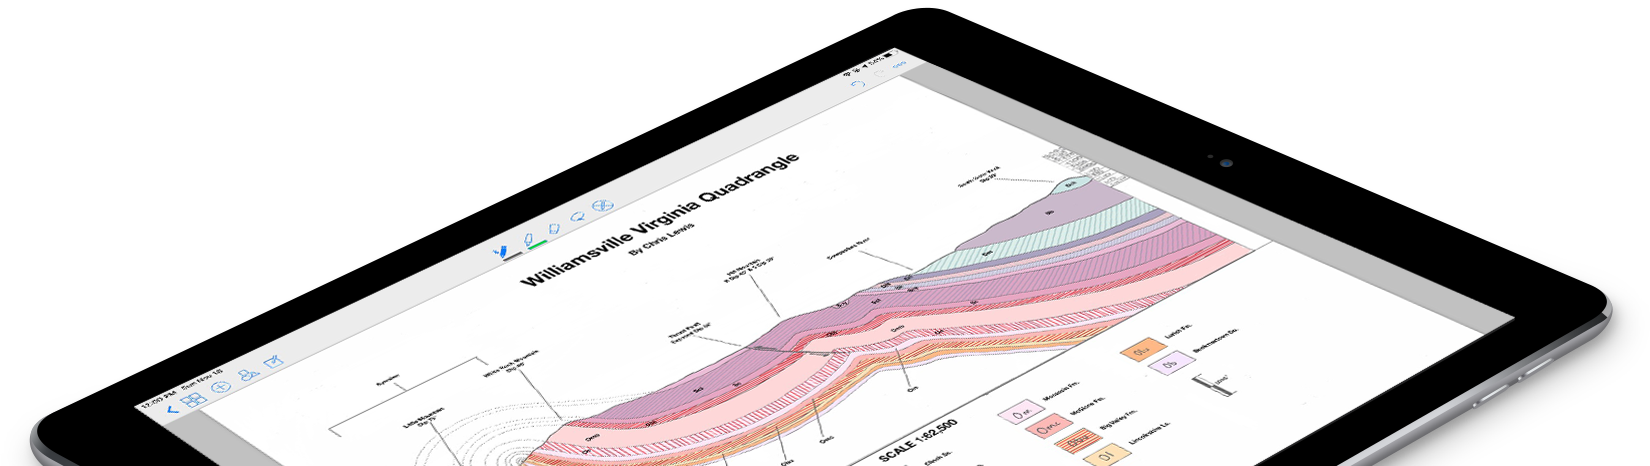
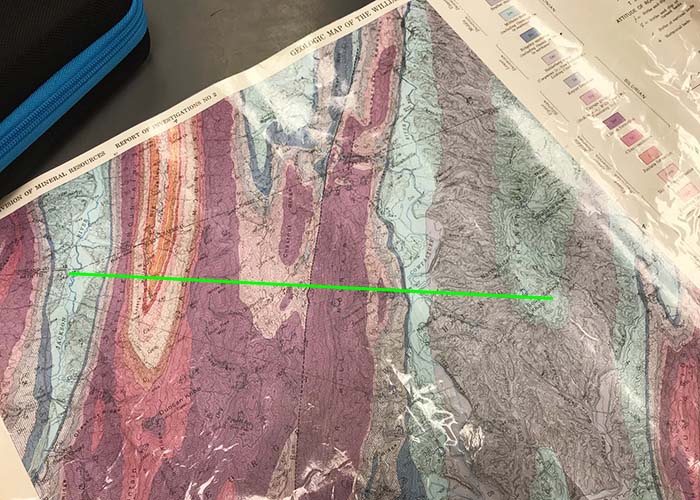
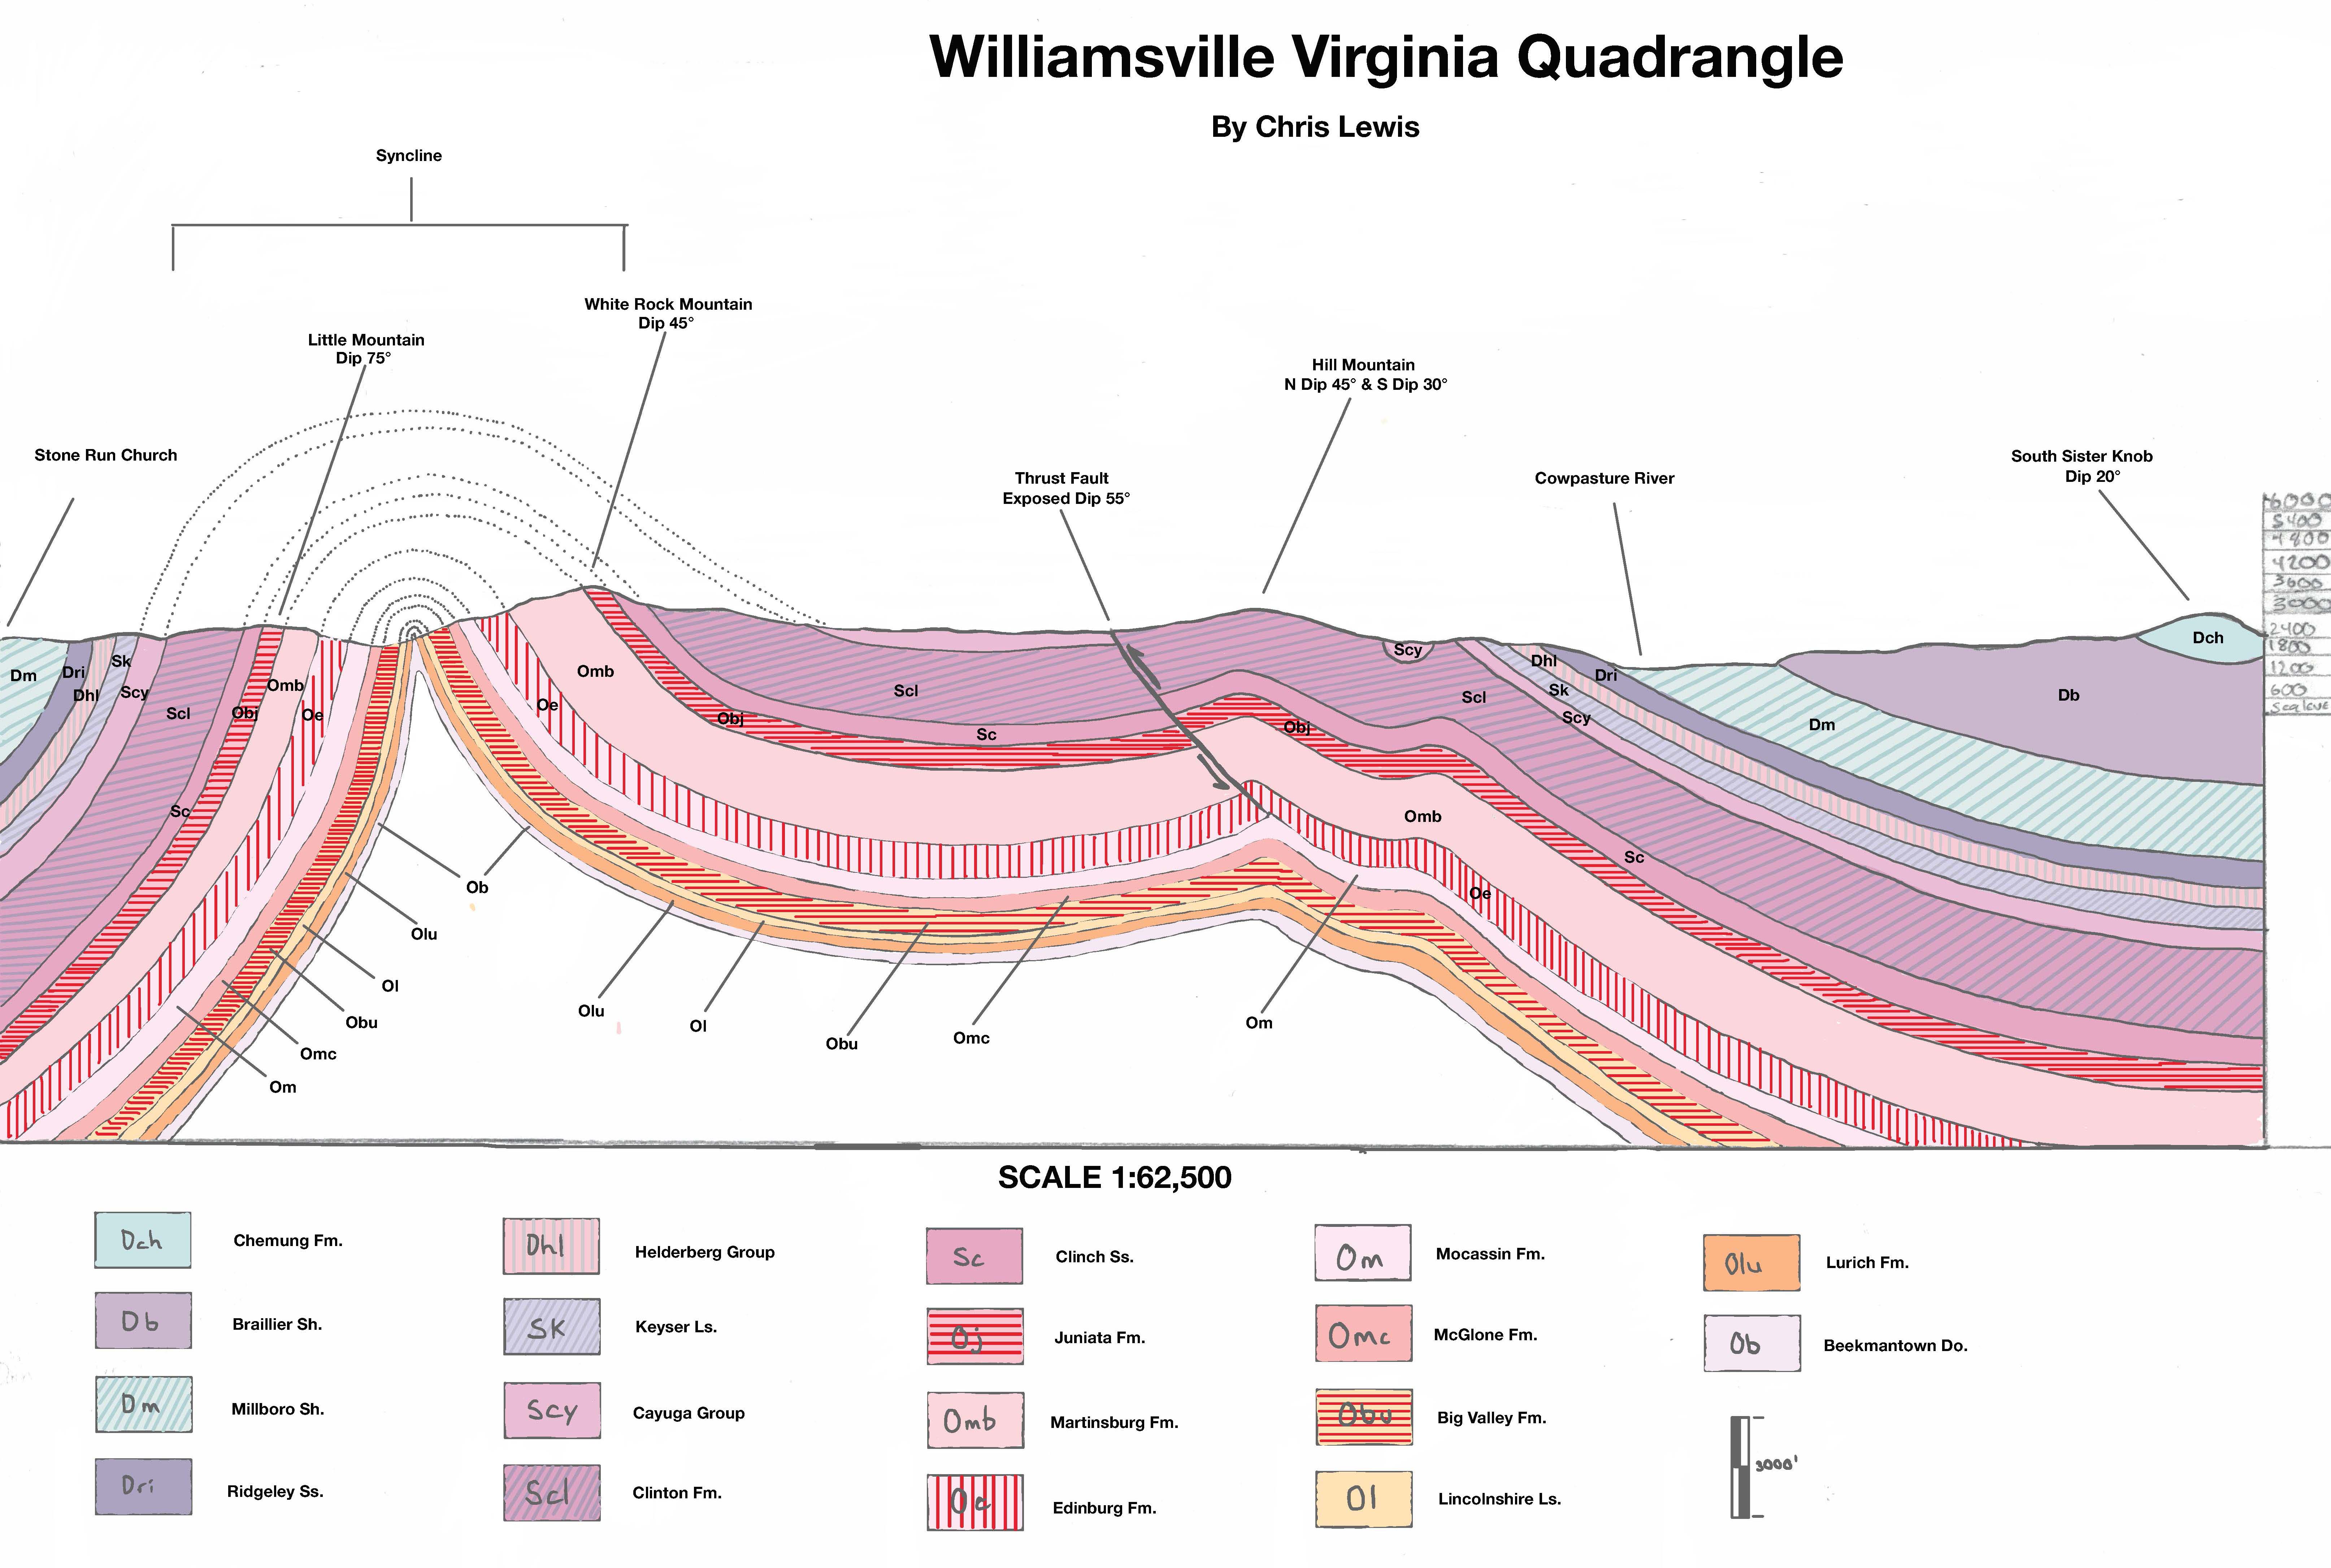
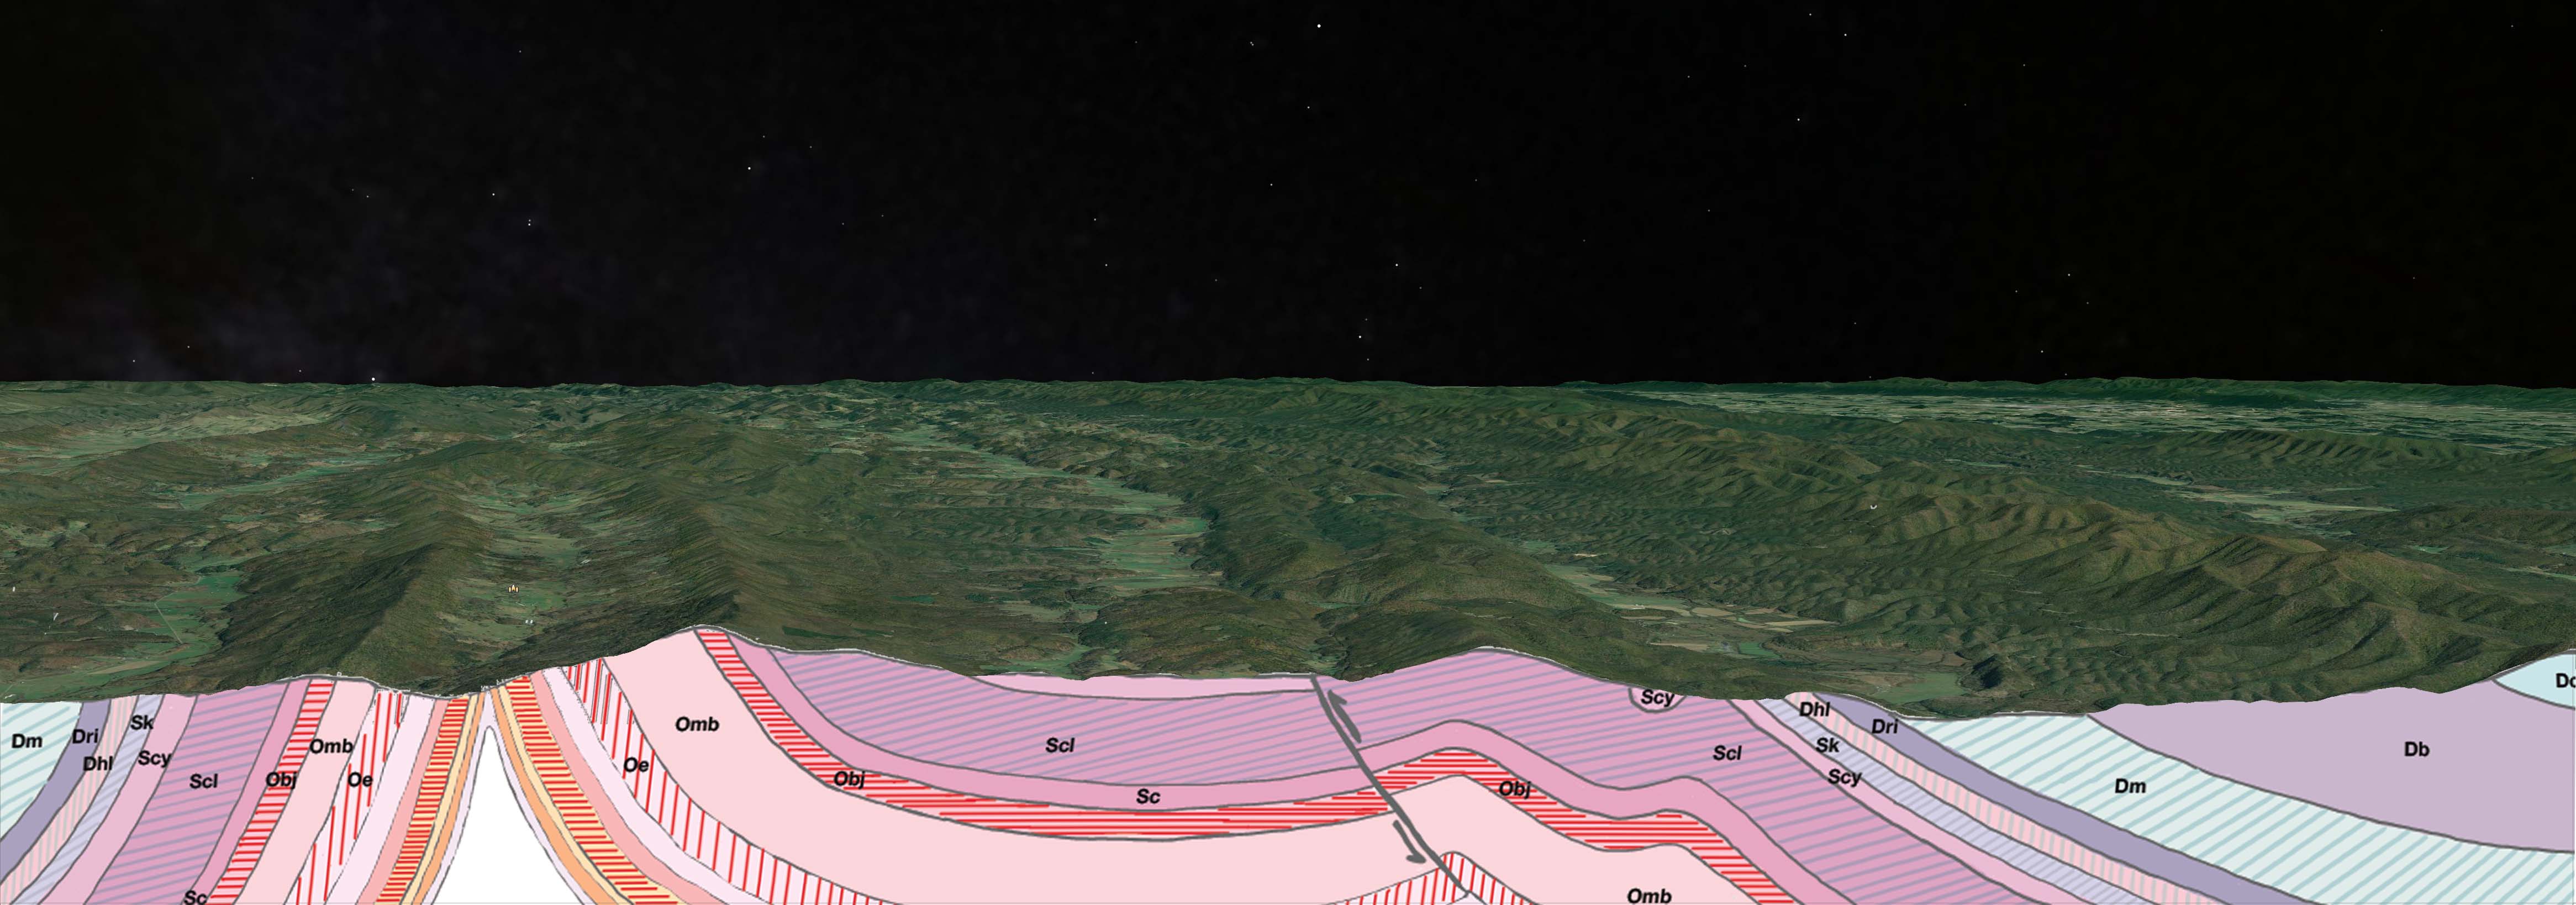
This tutorial stems from an assignment in my structural geology class. We were tasked with creating a cross section for a very complicated geologic and topographic map. The area of interest is the Williamsville Virginia Quadrangle. At first glance, it is a very intimidating map, especially with the contours. Utilizing the basics provided by the TA, I just took it one step at a time. While I am unsure of any mistakes I may have made, the purpose of this is to illustrate the basic steps involved as well as the drafting benefits of tablet use in geology.

* Wide enough to stretch from the desired start and finish of your cross section.

Step 1: Topographic Profile

First step when doing a cross section is to determine your start and end point on the map. Unless you are given your start and end by your professor or company, it is always best to pick a line where you have ample strike and dip data parallel to your path. If your strike and slip data is not parallel, you have to correct for this data.


Step 2: Mark Contours & Contacts

Once you have established your start and finish point you then simply line up your blank piece of paper to cover the start and end points. It helps to tape the paper down in the top corners so it doesn't move while you mark your contours and contacts. (More to come as time permits)


- Tutorial Still Under Development -


Final Version


Final Product Variations

3D Cross Section

Here I have added my cross section to a 3D view of the area I took my cross section from. Utilizing the established latitude and longitude marks on the map, I normalized them to find the exact points my cross section started and finished at. I was then able to extract satellite imagery of that very point.


As a note, because my determined topographic profile was made from the contours on the map, I had to warp my cross section slightly in photoshop to fit. Nonetheless, you can see above the non warped version is pretty similar to the established satellite profile. So again, while I will not know my grade for a while on this, I feel for my first real cross section, this was a success.


NEXT | 3D Terrain Extraction

This is a fun tutorial that shows how to extract satellite views in 3D. These are great to include in papers, reports, power points, etc.


Concluding Thoughts

  • GoodNotes 4 is an excellent app for taking notes as well as drawing. For drafting of cross sections, it allows for zooming in on delicate areas as well as quick step back if you mess something up. Every bit of my cross section was hand drawn, even the fill in of all colors was hand drawn. One thing that GoodNotes 4 lacks is a fill option, you know, the little paint bucket spill icon! I also wish it had a digital ruler, similar to what iPad had default a while back. I had to use a 6 inch plastic ruler when drawing straight lines. Nevertheless, the ability to change colors, change thicknesses, etc., is a welcome alternative to carrying a massive set of colored pencils and paper.
  • When this was done, the file size of the exported PDF was nearly 31 megabytes. Books (new name for iBooks) had a hard time loading it. I utilized Adobe Acrobat to flatten the PDF and was able to get the final product down to 9 megabytes. That said, the iPad Pro has a really robust processor so I am unsure how this would turn out on a smaller, less powerful iPad.